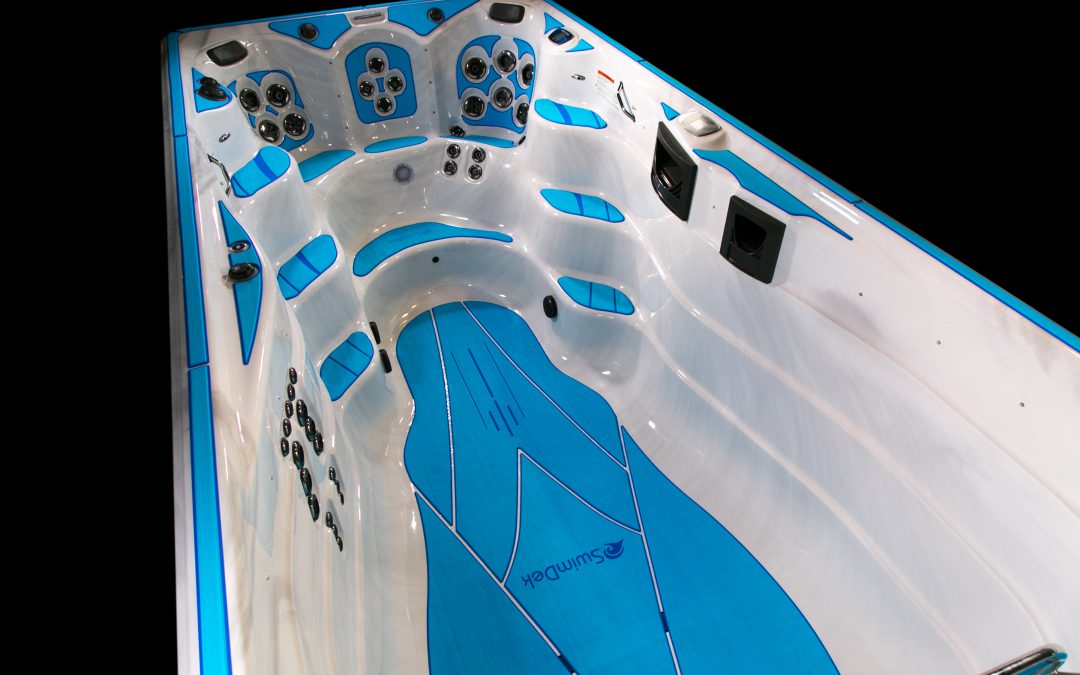
Installing SwimDek is quick and easy, just peel and stick! By utilizing a robust 3MTM acrylic-based pressure sensitive adhesive, SwimDek is easily applied, and forms a lasting bond that will ensure many years of trouble-free use.
You will only need a few items for the install:
- Ammonia-based window cleaner or acetone
- Clean rag
- Razor knife
- Masking tape
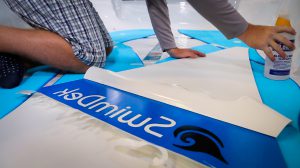
 For maximum adhesion, it is crucial that all surfaces that will be receiving SwimDek are properly prepared. This includes thoroughly cleaning the area with an ammonia-based window cleaner or acetone, being sure to remove any dirt, dust, residues, etc.
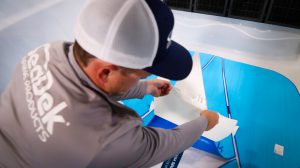
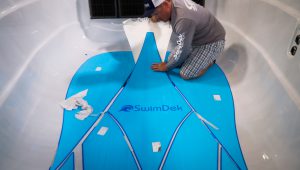
With the surface clean, you are now ready to install. Start by flipping the pad over and gently cut a straight line down the paper backing, being careful not to cut into the pad. Fold the backing back approximately an inch in either direction so that there is a strip of adhesive exposed.
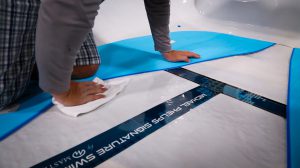
Now, flip the pad back over and align it where it is intended to be installed. When proper placement is achieved, lightly push down in the center to keep the pad from shifting. Use masking tape to tape down the edges of one side of the pad to be sure that it will not move, then slowly remove the backing on the un-taped side and apply the pad, being careful not to trap any air bubbles.
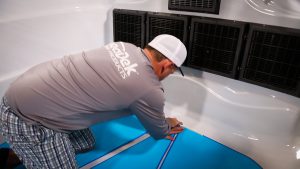
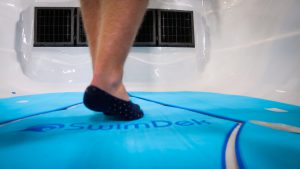
Next, remove the tape and apply the other side using the same method. When the entire pad is down, make sure that it is thoroughly pressed down, and run a finger around all edges to be sure the perimeter is sealed.
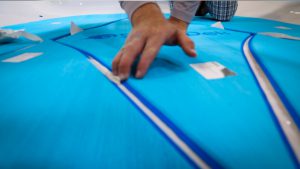
Repeat the process with each pad until the entire kit is installed.
By following these simple steps, you can be sure that your SwimDek will be installed properly and accurately every time. For additional information, please contact us at 321-210-7777 or visit our website.